MENUMENU

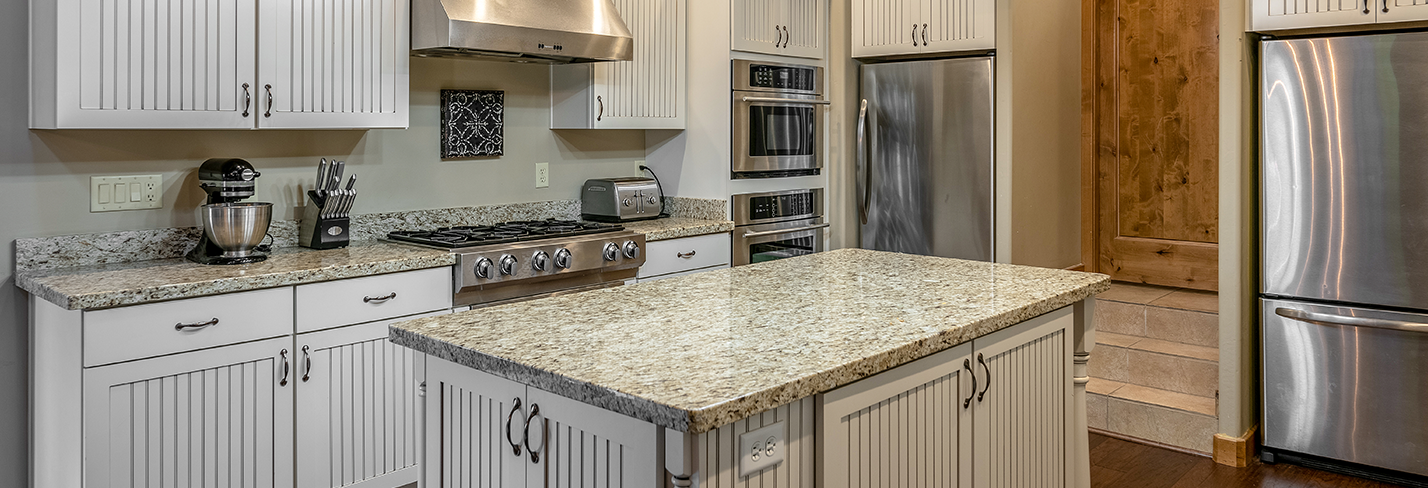
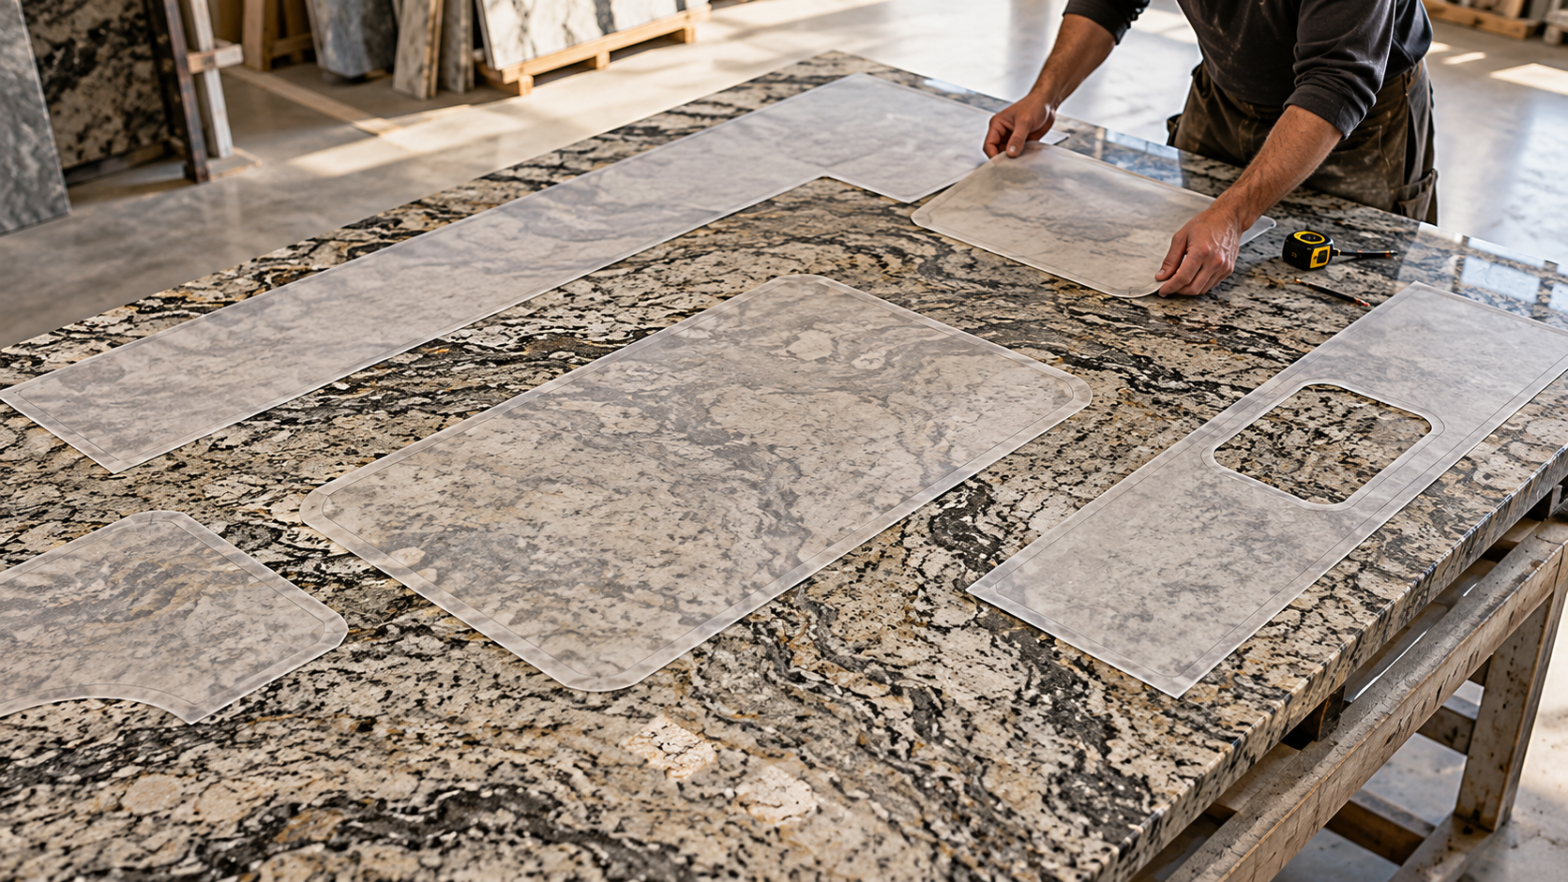
Choosing a granite slab is only one part of creating a finished countertop. Before we begin cutting, we have to decide how the different sections of that slab will become the individual countertop pieces in the kitchen.
That planning matters because homeowners usually choose granite while looking at the entire slab. Once fabrication begins, that slab may become an island, several cabinet runs, a peninsula, backsplashes, or smaller sections around appliances. Each finished piece will show only part of the original stone.
Granite slab layout is the process of deciding which portions of the slab belong in each part of the project before cutting. Veining, color movement, openings, seam locations, piece dimensions, and material use must all be considered together.
The first cut matters because once you remove material, the remaining layout options change. Careful planning before cutting helps us approach the slab as one complete countertop project, not a collection of unrelated pieces.
Before laying out countertop pieces, we look at the slab as a whole.
Granite is a natural material, so its appearance can vary significantly across a single slab. We consider its overall color, pattern, veining, movement, surface characteristics, fissures, filled areas, and other natural variations before deciding where to place cuts.
This inspection is important for both appearance and fabrication planning.
A section with strong movement may suit a visually prominent part of the kitchen. Another area may have a quieter pattern that works naturally for a smaller countertop run. The goal is to understand what the slab gives us before assigning different sections to specific pieces.
It is also important to distinguish natural stone characteristics from assumptions that every visible mark is a defect. Granite can contain variations that are simply part of the material. Evaluate those characteristics as part of the overall slab rather than judge them without context.
Inspection continues beyond the layout stage as part of the broader granite countertop fabrication process, but evaluating the slab before cutting gives us the information needed to make better layout decisions from the beginning.
Once we understand the slab, the next question is where its different sections should appear in the finished kitchen.
Not every countertop area carries the same visual weight. A large island, for example, may immediately draw attention when someone enters the room. A long cabinet run may show a substantial amount of the stone’s pattern. Smaller sections may be partially interrupted by appliances or located in less prominent areas.
The granite countertop layout should account for those differences.
When a slab has strong movement, we look at how that movement will read across the finished kitchen, not just how efficiently individual pieces fit.
That can mean intentionally positioning a visually distinctive section of stone where it will remain visible. It can also mean avoiding a layout where an important feature is divided unnecessarily or placed in an area where much of it will be removed.
At the same time, the layout has to work with the actual countertop dimensions. Islands, peninsulas, long runs, short returns, and separate sections all have specific size requirements. The amount of overhang on a countertop is another factor to consider. A larger countertop overhang will contribute to the surface area of the island or cabinets and reveal more pattern in doing so.
This is why countertop slab layout is more involved than placing as many shapes as possible onto the stone. The pieces have to fit, but they also need to make visual sense when they are installed in different locations throughout the kitchen.
Some granite has relatively consistent patterning. Other slabs have strong directional movement that makes orientation much more noticeable.
With directional stone, we consider how veins and patterns will travel through each finished countertop section.
Adjacent countertop runs may look more connected when you consider their movement together. Corners also require attention because two pieces that meet physically do not automatically create continuous-looking veining. Islands can present another decision because you may view their orientation from several directions.
Vein matching granite therefore involves planning, but it also requires realistic expectations.
Natural stone does not provide unlimited copies of the same pattern. Once we assign one section to a countertop piece, we have to work with the material that remains. Exact vein continuation isn’t always possible, especially when separate pieces come from different portions of the slab or when dimensions and cutouts restrict placement.
Vein direction and flow require planning, especially in the case of full height back splashes, where the countertop material extends up onto the wall instead of the seperate tiled backsplashes that have been traditionally popular.
The goal isn’t to promise a perfect match when the material cannot provide it. Instead, consider direction, movement, adjacent pieces, and the overall appearance before granite slab cutting begins.
That planning can help the final countertop feel more intentional while still respecting the natural variation that makes each granite slab different.
Sink and cooktop openings can remove a substantial portion of the countertop surface, so you need to include their locations in the slab layout from the start. Countertop templating is specifically important here not only for the cutout dimensions, but in an effort to maintain natural stone character where possible.
Without that consideration, an attractive section of veining or pattern could end up almost entirely inside an opening and be removed during fabrication.
We therefore look beyond the outside dimensions of each countertop piece. We also consider what will remain after we cut the sink, cooktop, and other required openings.
Openings can also affect fabrication. Once material is removed, narrower sections of stone may remain around parts of the opening. Consider those areas when planning the piece and the fabrication sequence.
The exact layout depends on the countertop design, opening sizes, slab characteristics, and other project requirements. The key point is that cutouts cannot be an afterthought.
When cutting granite countertops, the final visible shape of each piece matters more than the simple rectangle or outline that existed before the openings were made.
Granite slab seams and slab layout are closely connected.
A countertop cannot always be fabricated as one continuous piece. Slab dimensions, countertop dimensions, access requirements, cabinet support, piece size, and the overall project configuration can all influence where separate pieces are necessary.
That means seam decisions need to be considered while the slab is being laid out, not after every other cut has already been decided.
Visually, the stone on both sides of a seam also matters. We consider how the pattern and movement of neighboring pieces relate to one another and what the seam will look like in the context of the entire countertop.
Sometimes a layout that looks efficient on the full slab can create a less desirable transition once two pieces are installed side by side. In other situations, changing the orientation of one piece could affect both the seam and the stone’s direction elsewhere in the room.
These decisions are interconnected.
Once our related article is available, readers can also learn more about how fabricators decide where countertop seams should go, including the practical factors that influence seam placement.
The goal during layout is to understand the seam as part of the finished countertop rather than simply as a dividing line between two pieces.
Granite slabs are valuable project materials, so responsible fabrication also involves using them thoughtfully.
Material efficiency does not simply mean fitting the maximum number of pieces onto a slab with the smallest possible gaps. A layout still has to account for appearance, veining, openings, seam planning, dimensions, and the needs of the finished countertop.
Sometimes those priorities work together easily. Sometimes they compete.
A layout that preserves a certain section of movement for an island, for example, may leave less flexibility for positioning another countertop run. Changing one piece can affect the available space for everything else.
Our job when creating the countertop layout from the granite slab is to consider the project as a whole.
We want to avoid unnecessary material consumption, but we can’t evaluate efficiency independently of the finished result. Depending on the project, achieving the desired layout may require more material than another possible arrangement.
That is part of the planning process. The goal is to make informed decisions about where the stone goes before cutting permanently limits your options.
Efficient material use can extend beyond an individual countertop fabrication and install job. Granite and other natural stone slabs are a finite resource and cutoffs deserve another chance at utility. At Express Cabinet and Granite our countertop remnant yard keeps natural stone slab cutoffs in inventory for smaller projects, or supplements to larger projects when compatible.
Once the slab layout is complete and the pieces are cut, fabrication continues.
Depending on the project, the remaining work can include shaping edges, completing sink or appliance cutouts, polishing and finishing surfaces and edges, and inspecting the pieces before installation.
Homeowners who want a broader look at this stage can also explore the tools and steps used to fabricate granite countertops.
Layout comes first because each later fabrication step works with the pieces created during cutting. Careful planning at the full-slab stage gives the fabricator a clear direction for turning the selected material into countertops designed for the specific kitchen.
A finished granite countertop represents more than the slab a homeowner selected. It also reflects the decisions made about where each section of that slab should go.
Before cutting begins, consider veins, seams, openings, focal areas, and material use. That planning helps turn one full slab into individual countertop pieces that work together in the finished space.
If you are looking to purchase and install countertops fabricated from granite or quartz countertops, contact Express Cabinet & Granite to discuss your project.
